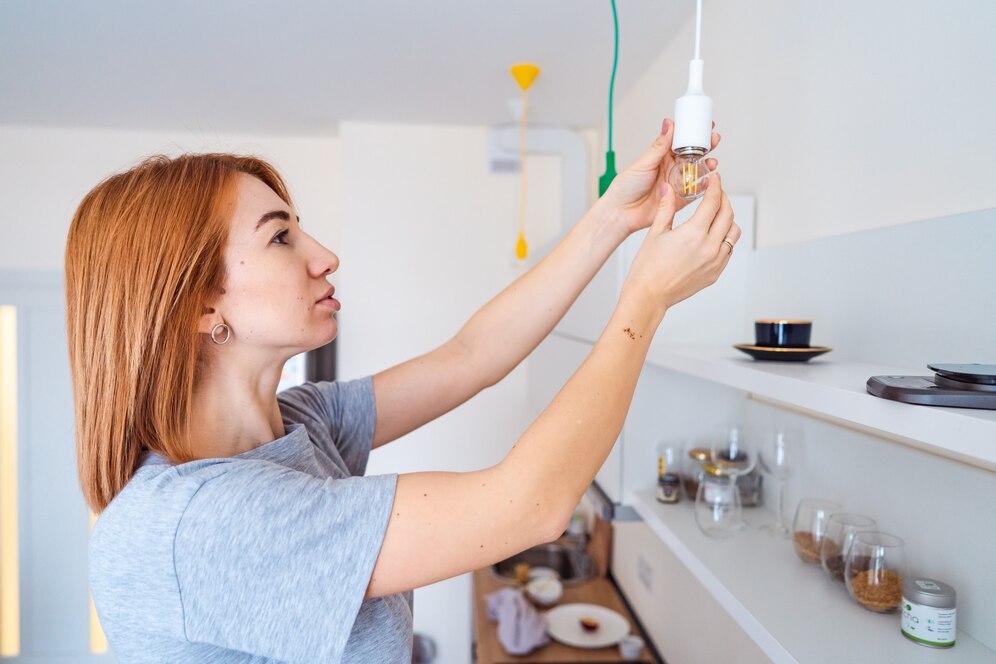
Changing a light bulb may seem like a simple task, but it’s essential to prioritize safety to avoid accidents or electrical issues. Here’s a step-by-step guide to safely change a light bulb:
- Check Fixture Wattage:
- Inspect the fixture for the correct wattage of the bulb. Look for instructional labels indicating the maximum wattage allowed.
- Using bulbs with wattages higher than recommended can pose fire hazards.
- Prepare:
- Use a ladder or step ladder if the bulb is out of reach to prevent falls.
- Turn off the fixture and light switch. If unsure, turn off power at the fuse box or unplug the lamp.
- Let Bulb Cool:
- Allow the bulb to cool down before handling it to avoid burns.
- Remove Old Bulb:
- Twist the old bulb in a counter-clockwise direction until it releases from the socket. Set it aside.
- Avoid touching the socket and do not over-tighten or force the bulb.
- Install New Bulb:
- Align the replacement bulb in the socket and turn it clockwise until secure.
- Keep fingers out of the socket and avoid over-tightening.
- Dispose of Old Bulb:
- Safely dispose of the old bulb, preferably by wrapping it in the packaging from the new bulb.
Removing a Broken Bulb:
- Ensure power to the fixture is turned off at the fuse box.
- Place an old blanket or towel on the floor to catch glass shards.
- Wear leather gloves and eye goggles for protection.
- Insert needle-nose pliers into the base of the broken bulb and rotate counter-clockwise until released.
- If grip is lost, retry until the base is removed.
Remember, safety is paramount when dealing with electrical repairs. If you encounter difficulties or feel unsure, seek assistance from a local electrician. Experts In Your Home can provide professional help if needed.

